SAP Analytics Cloud is a comprehensive tool that, apart from the basic functions of data analysis and visualization, also has built-in predictive and planning mechanisms. SAC allows you to create planning models, on the basis of which reports can be created, e.g. financial statements.
The planning process involves making structured changes to the model data. In this area, SAC offers the use of Data actions, which allow for data copying, allocations or more complex calculations based on scripts. You can plan and execute simple consolidation functions such as accounts receivable planning.
Operation of the Data actions can be illustrated in a simple example of a profit and loss report. The general compilation of sales revenues in the income statement consists of planning both unit prices and discounts given to customers. Planned sales revenues can be obtained by multiplying the planned unit price by the planned sales volume. Finally, you should define what the average rebate will be in order to plan your sales.
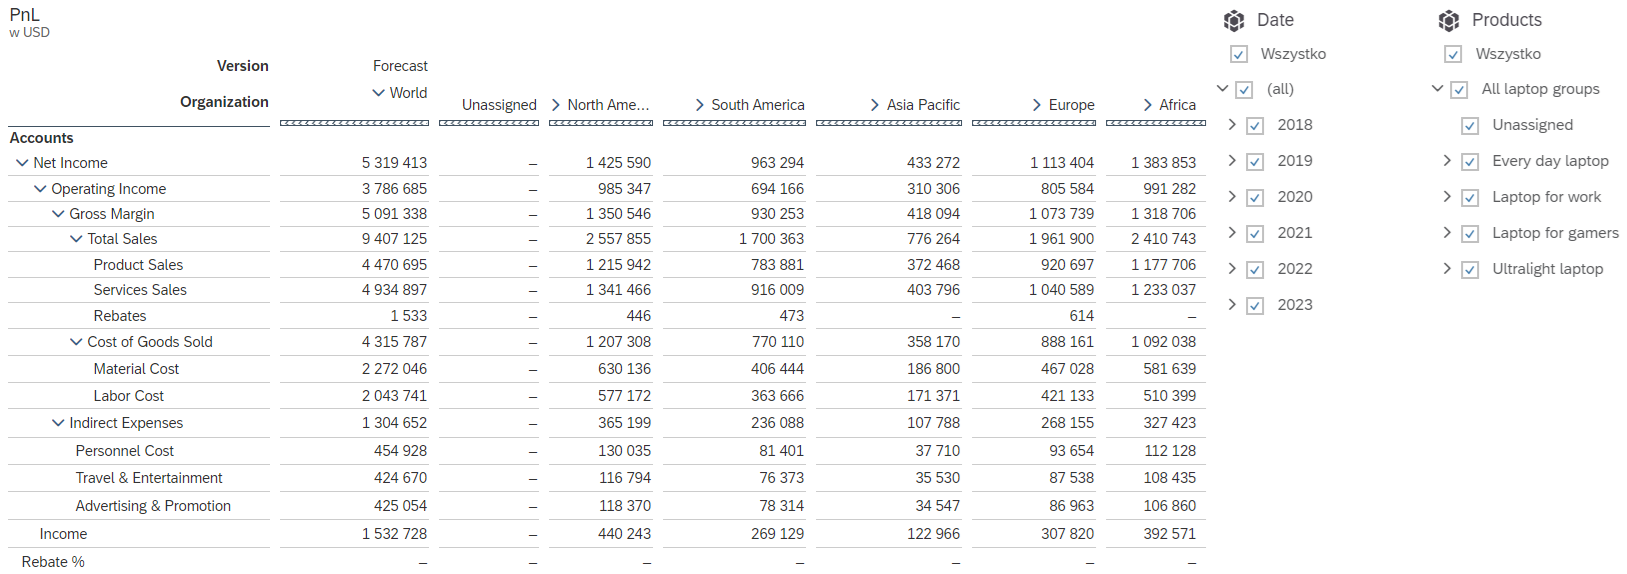
The table below provides information on the sales figures of laptops in various units around the world. To fully determine the revenue, you need to define the amount of rebates using Data actions.
Step 1 - creating Data action
We start by creating a process via the command Create -> Process -> Data Action on the home page of the SAC application.
Then we enter the name and description of the process and select the planning model:

We save the process with the disk icon.
Step 2 - adding a step for Data action
Data actions can consist of various steps available in the main menu, such as copying, allocations, embedded data actions or advanced formulas:

In our example, we will use the last step where you can create a transformation and calculation script. It is worth adding that formulas can be created in two editors: script and visual.
We enter the name and description of the step, and then select the design mode - visual editor.
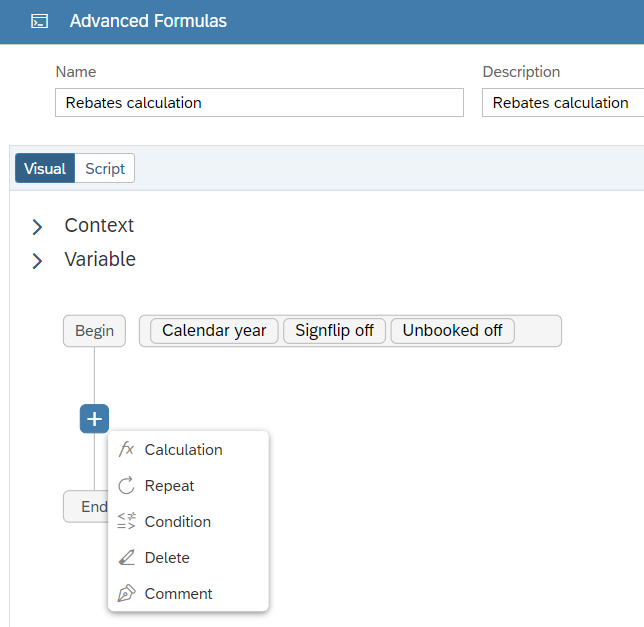
We use the plus icon to add the Calculation formula:
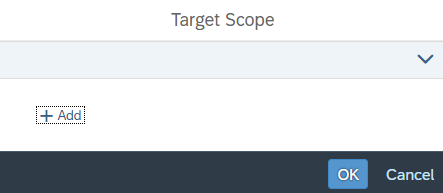
We set the target range by selecting the Target tile.
Select Add -> Measures -> Rebates -> OK -> OK
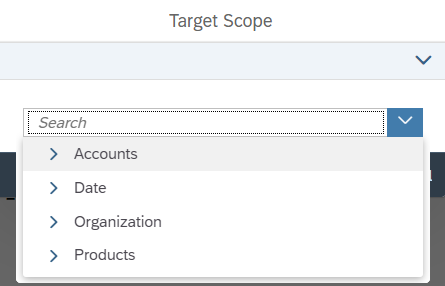
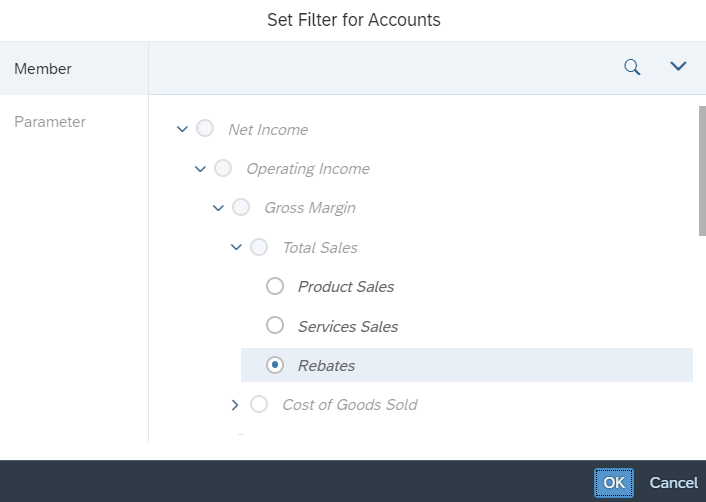
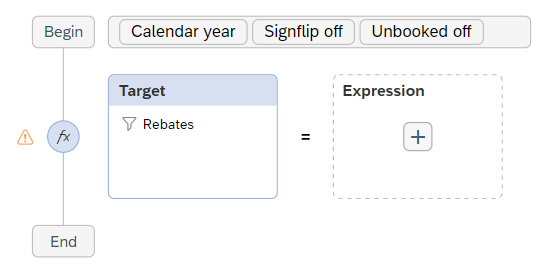
In the same way, we set the source scope by selecting Product sales:
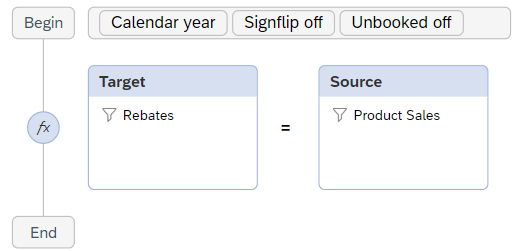
We add the second source range with the plus icon:

We add another source range: Rebate % and the Unassigned item for the Organization dimension:
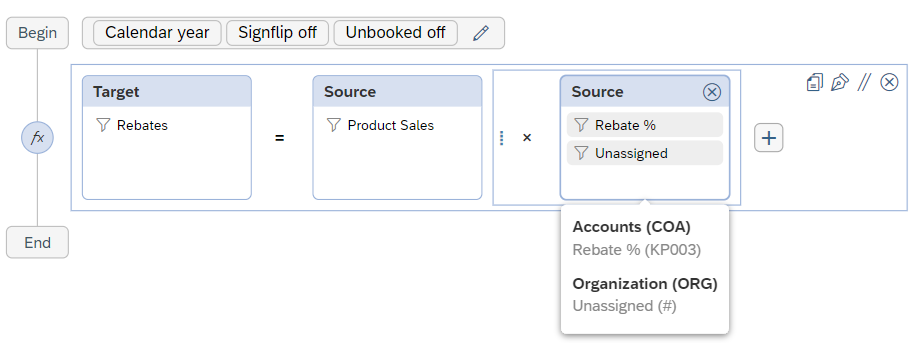
We save the process with the disk icon.
Step 3 - Adding and running Data actions
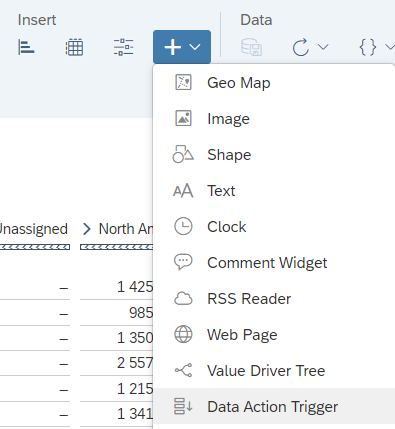
We go to the report with the base table and add the process Data actions using the command Insert -> Data Action Trigger:
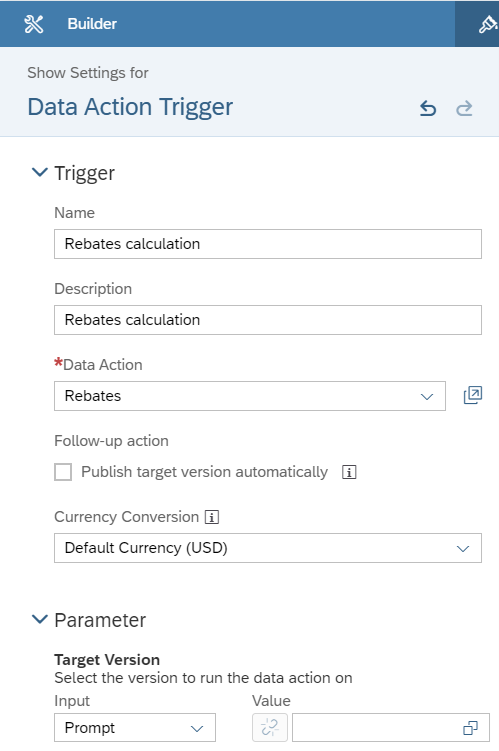
An edit window will appear in the right part of the screen, in which:
- enter the name and description
- select a previously created process - an data action
The process is added to the report in the form of a button that can be set anywhere, e.g. above the table:
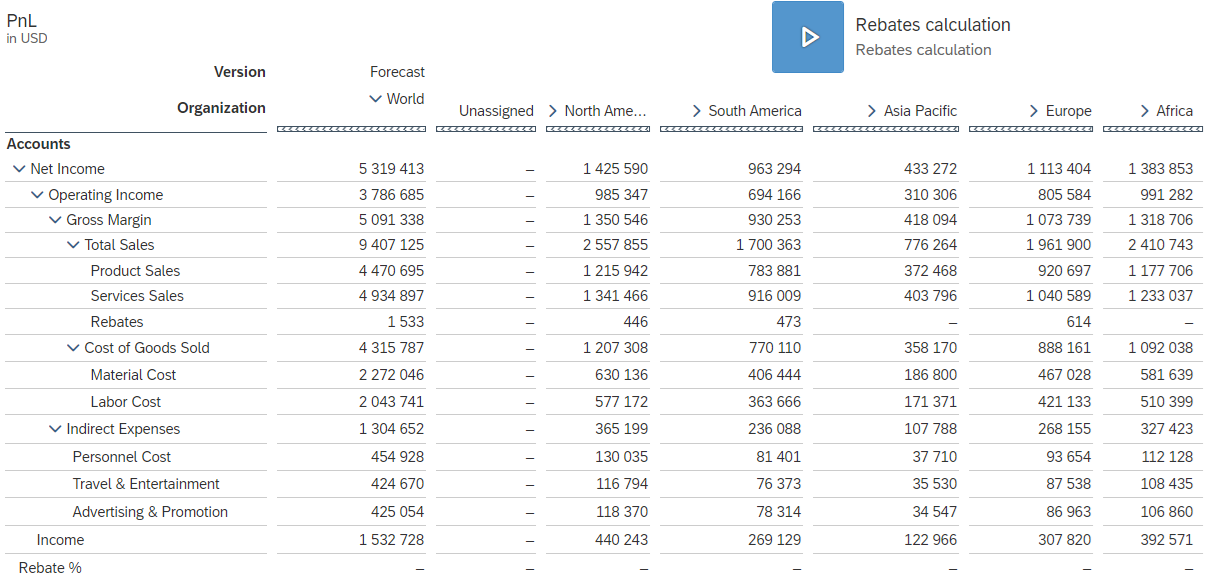
To start the rebates calculation process, save the report and go to the View mode.
Our goal is to introduce a 15% rebate for Apple Macbook Pro 13 2020 laptop for the period December 2020.
From the data input controls that allow filtering data, we choose the period and product:
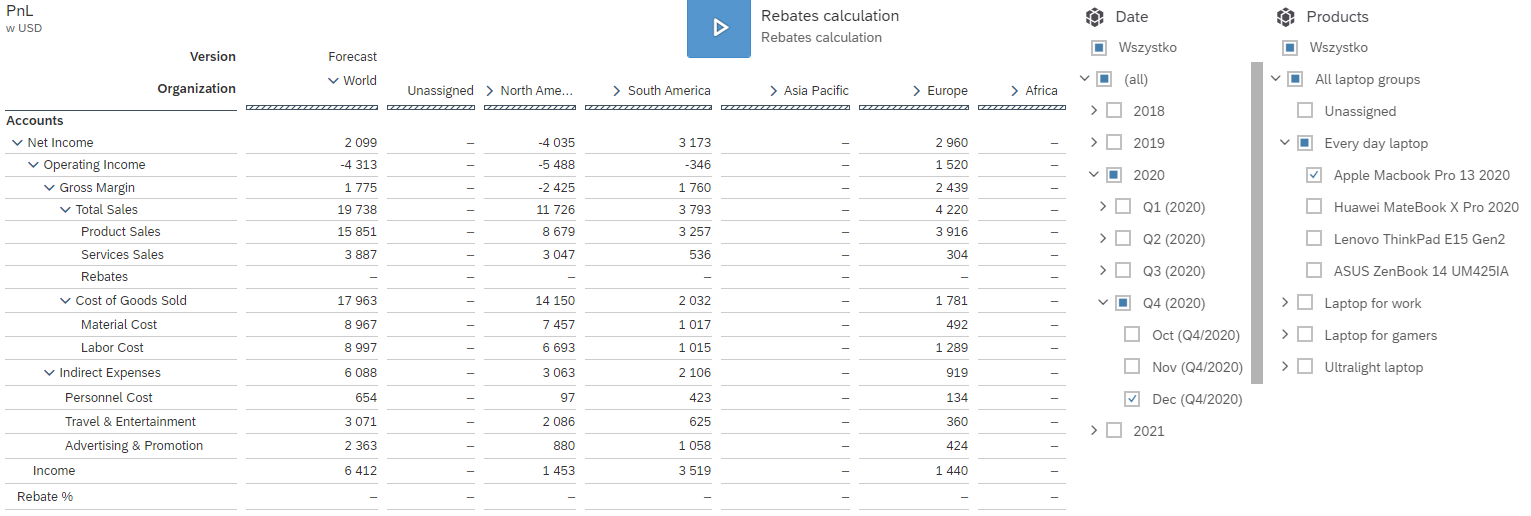
In the "Rebate %" line and the Unassigned column, enter the value of 15%:
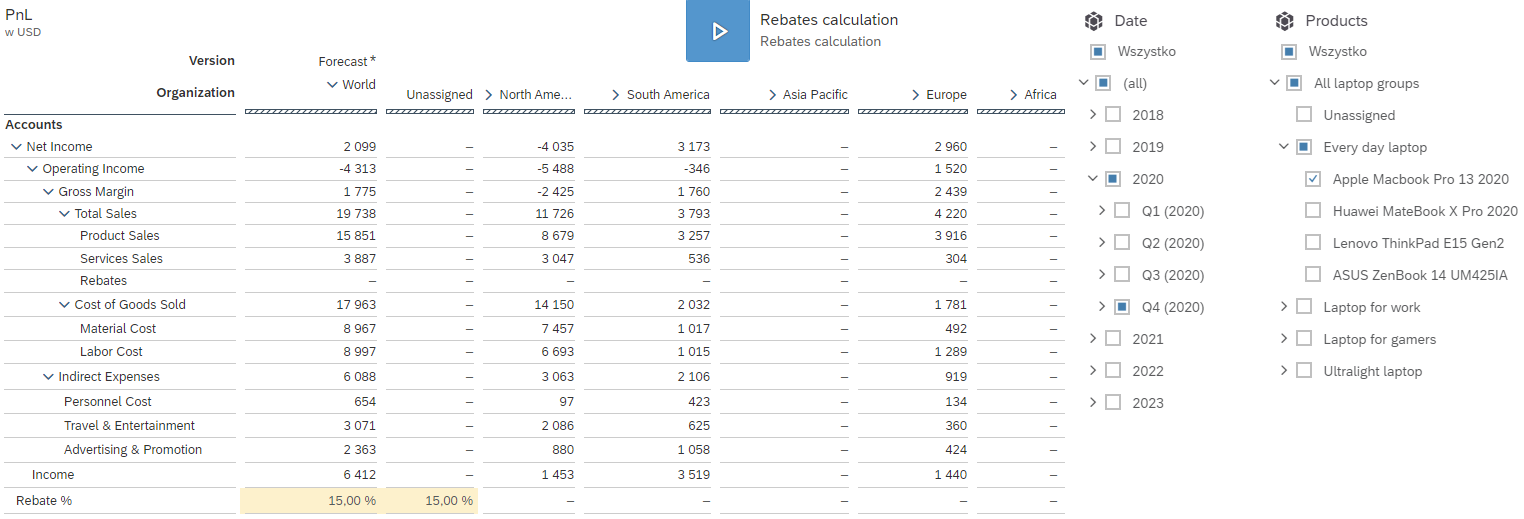
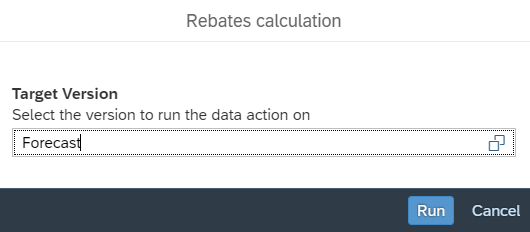
We start the process by pressing the button named Rebates calculation, and then select the version for which data actions would be performed -> Forecast.
Confirm with Execute.
We check the results of the rebates forecast in yellow cells.
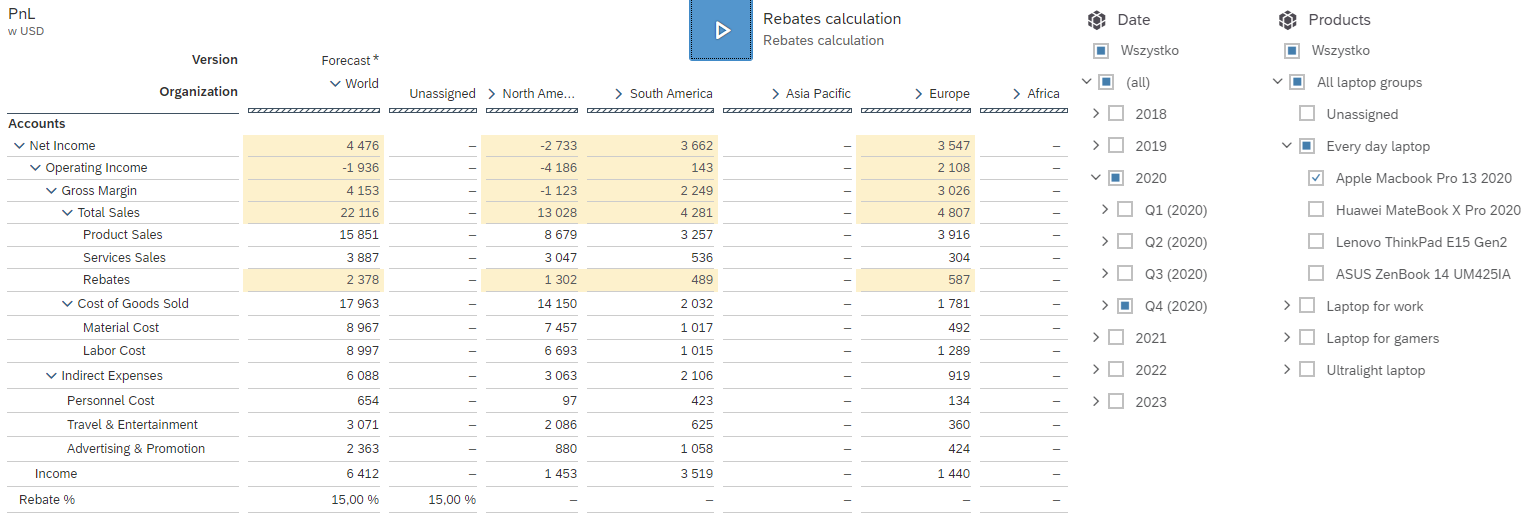
The calculation results can be saved in the selected data version or the process can be repeated.

